 Watt2Ride
Not the nearest point: how the map's filters find you the right one
November 3, 2026
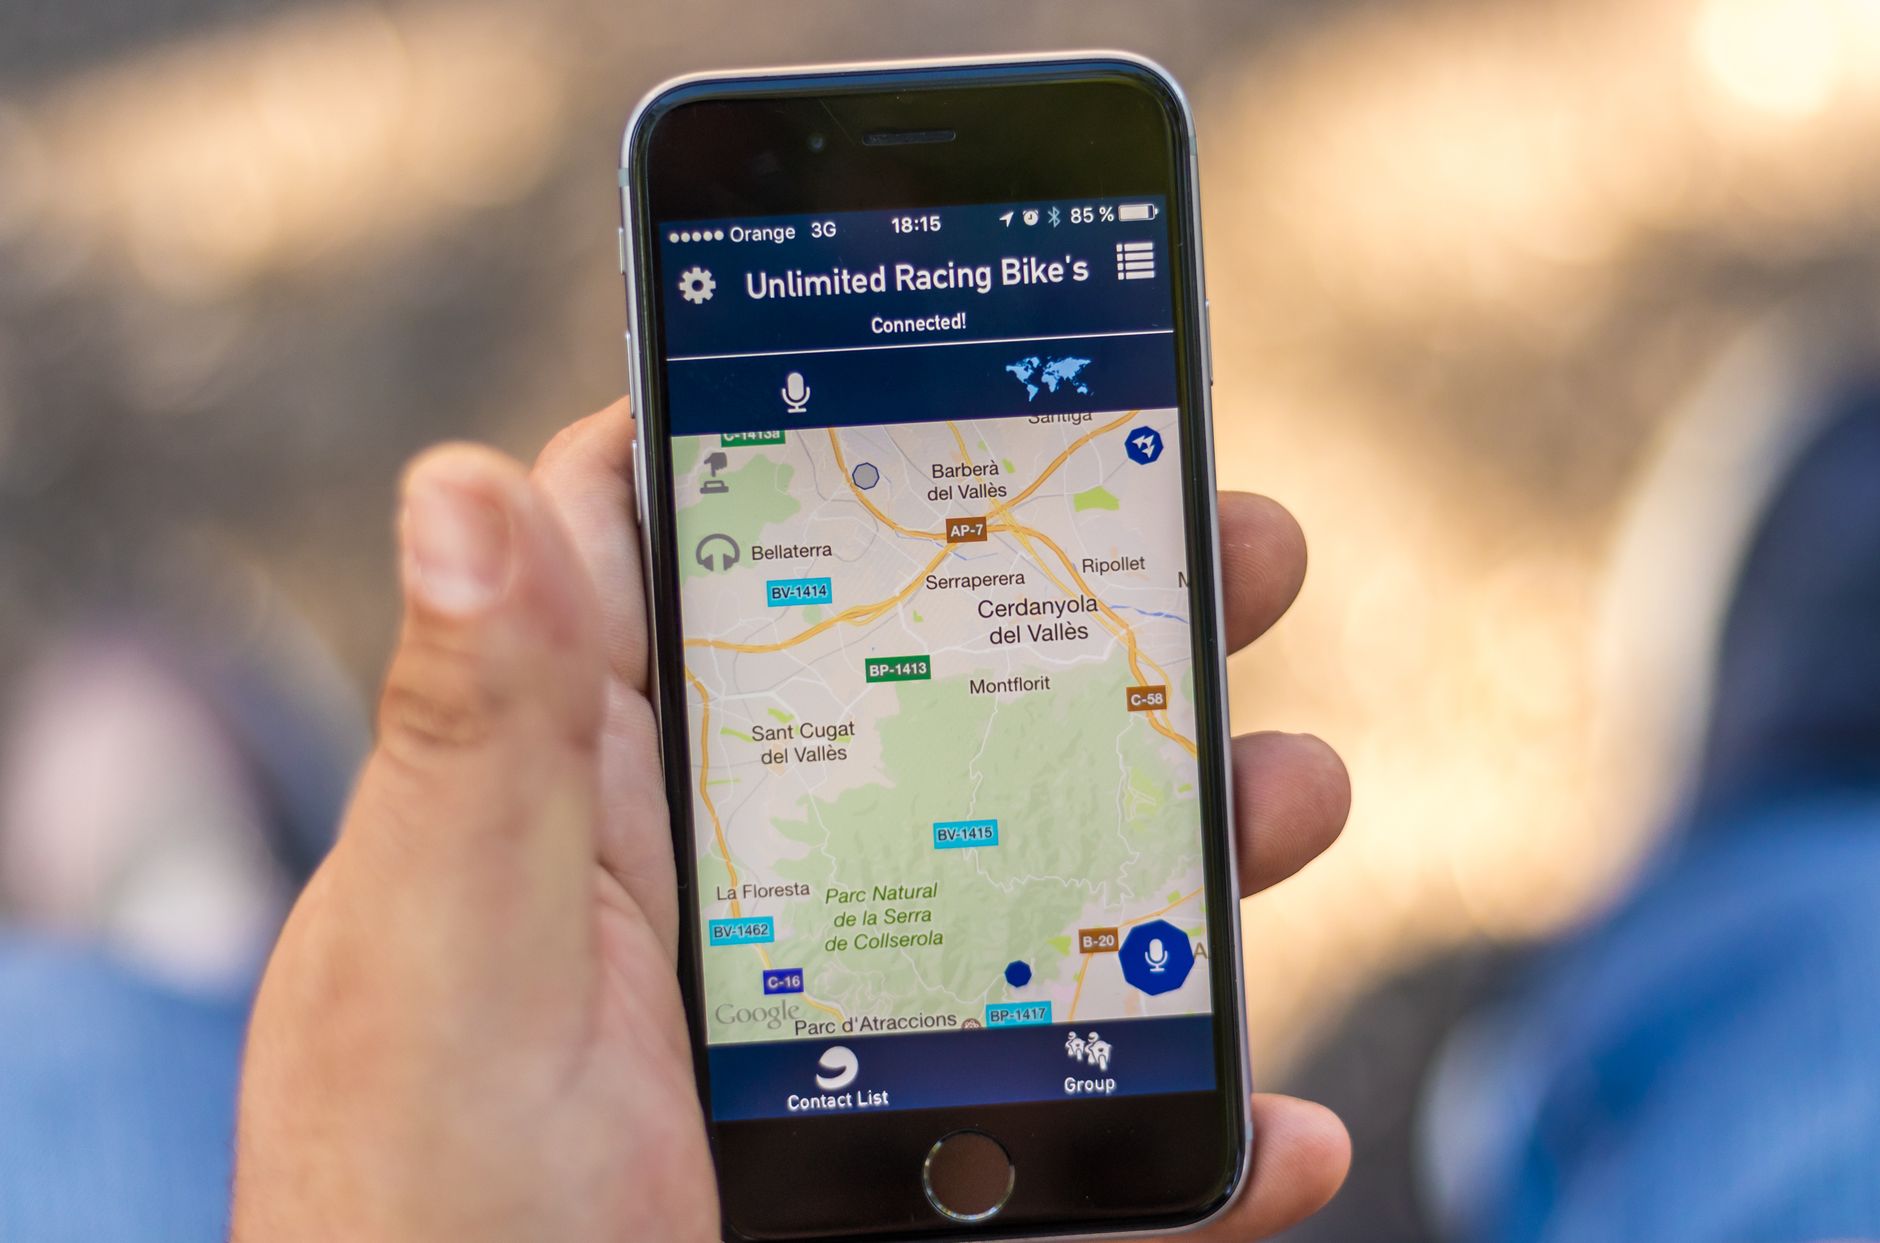
Has this ever happened to you? You open the map with the battery already a bit low, and you're faced with a scatter of pins, all roughly the same distance away, with zero appetite for opening each one just to work out which actually suits you. It happens most in the denser areas, where charging points multiply and the first one on the list isn't automatically the best one. Maybe the closest is marked as paid and right now you've only got cash in your pocket, or it closes at six and it's already half past seven, or its location simply hasn't been verified yet and you don't fancy riding in circles for a quarter of an hour over a pin that might sit a hundred metres off.
The good news is you don't have to open them all to find out. In Watt2Ride there's a button with a filter icon, right above the map, that opens a small panel with four switches. A few seconds are enough to narrow the list down to exactly what matters to you in that moment, and the map updates to show only the points that match what you've chosen. In this post we'll look at what each filter actually means, how to combine them for the situations that come up most, and why sometimes it pays to use them with a bit of caution rather than taking them at face value.
The four filters, one by one
The first switch is called Verified location only, and it's probably the most useful one when your battery's running low and you can't afford surprises. Turn it on, and the map hides every point someone has flagged as needing an on-site check, the ones you'll usually spot with the yellow warning on the point's details panel. That doesn't mean those points don't exist: it just means their exact location hasn't been confirmed yet, maybe because whoever added them did it in a hurry, or reconstructed the address from memory. If you're planning with a tight margin, this is the filter that saves you from finding out the hard way, exactly when you can least afford to.
The second, Free, does exactly what it says: it leaves visible only the points marked as costing nothing. It's worth pausing here on what happens behind the scenes, because it helps make sense of the other filters too. Every point on the map can have its fee marked as free, paid, or fee unknown, because nobody has confirmed that detail yet. The Free filter only takes the first category seriously: switch it on, and a point with fee unknown disappears from view exactly like a paid one, even though in reality it might well be free and nobody has simply had the time to report it. It's a cautious choice, designed to give you certainty, but it also means that with this filter on you're excluding a few genuinely good points along with the actually paid ones.
The third filter, Open 24/7, is built for anyone moving outside convenient hours: late at night, early in the morning, or simply when you don't want to plan your stop around a café's opening times. The logic here is stricter than the others: a point only counts if it's explicitly marked as open day and night, so switching this filter off brings back both the points with limited hours and the ones where the hours simply haven't been entered yet. The fourth and last filter, Fast charge (Type 2), is the most technical one: it shows only the points offering that particular socket, handy if your e-bike, or more often the charger you carry with you, specifically needs it, or simply if you want to save time on the stop and can't be bothered working around a generic socket.
When one filter is enough, and when it pays to combine them
There are situations where a single filter solves your whole day. If you're planning a Sunday family outing, kids in the seat and an eye on the budget, switching on Free and leaving everything else off is often the sensible move: what matters is not spending money, not necessarily getting the fastest charge in the world, and you can always check hours and location point by point once the list has narrowed down. If instead you're a daily commuter with exactly a forty-five minute lunch break, Fast charge on its own might be all you need: you don't care whether the point is paid, what matters is not losing time while the rest of the day carries on regardless.
Other times, it's worth combining two filters, and that's when the map really becomes a planning tool rather than just a list of pins. Picture a long weekend by bike somewhere you don't know well, sleeping in a different place each night, with no interest in arriving late and still hunting for a free socket. Open 24/7 together with Verified location only leaves you only the points you can genuinely count on, even if you roll in after sunset with the last few kilometres of range. Or picture riding a heavy cargo bike, maybe loaded with a week's groceries or a couple of kids, with no patience left for riding in circles looking for the right socket: Fast charge together with Free trims the list down to a handful of solid options, and from there the choice is easy. The general rule is simple: the more filters you switch on, the narrower the list gets, so it's worth starting from whatever matters most to you right then and adding the others only if the area is dense enough to allow it.
What the filters can't tell you, and why you still open the details panel
It's worth being honest about one thing, because the filters only work well if you also know what they don't do. They narrow the list based on what's been reported so far on OpenStreetMap and through our own community's reviews, not on a live check of what you'll actually find once you get there. A point might be marked free because it was last year, and the owner has since changed their mind in the meantime, or it might be marked open 24/7 and then, on that particular day, be closed for some reason nobody's reported yet. The filters are a great way to get quickly to a handful of sensible candidates, not an absolute guarantee, which is why the rest of the details panel still matters: the data completeness percentage, the date of the last on-site check, any reviews left by riders who've already been there.
There's also a side effect worth watching for, especially in less-covered areas: filtering too tightly can make points that would actually suit you fine disappear from the map, simply because nobody's entered that specific detail yet. If you're searching in a quiet mountain area and, with every filter switched on, nothing shows up, before giving up try switching a filter or two back off and see what reappears: maybe that point three hundred metres away really is free, nobody's just written it down anywhere yet. And that's exactly the moment when your own report, using Suggest an edit from the point's details panel, makes the filter sharper for whoever passes through after you.
Apply, and let the map do the work
Once you've found the combination you need, a single tap on Apply updates the map right away, showing only what you've chosen. If you're planning calmly from home rather than on the spot, it's worth saving the points that pass the filter and that you genuinely like to your Favourites, so on the day of the outing you find them with a single tap instead of running through the whole search again with gloves on and the rest of the group waiting on you. And if during the ride you discover that a point filtered as free actually isn't, or that one marked as paid has been free for ages, that's exactly where a report or a review helps more than you'd think: the filters are only ever as useful as the data behind them, and that data gets built by all of us together, one point at a time.
In the end, the panel's four switches aren't some trick for planning perfectionists. They're simply the fastest way to stop opening ten details panels one after another and get straight to the point, quite literally, that works for you in that specific moment. And the next time the map looks like a wall of identical pins, maybe the problem isn't that the right information is missing. Maybe you just haven't flipped the right switch yet.